
Last updated August 27, 2026
Free in-home measure and quote - PGT, CGI and CWS impact lines compared on your actual openings, style by style


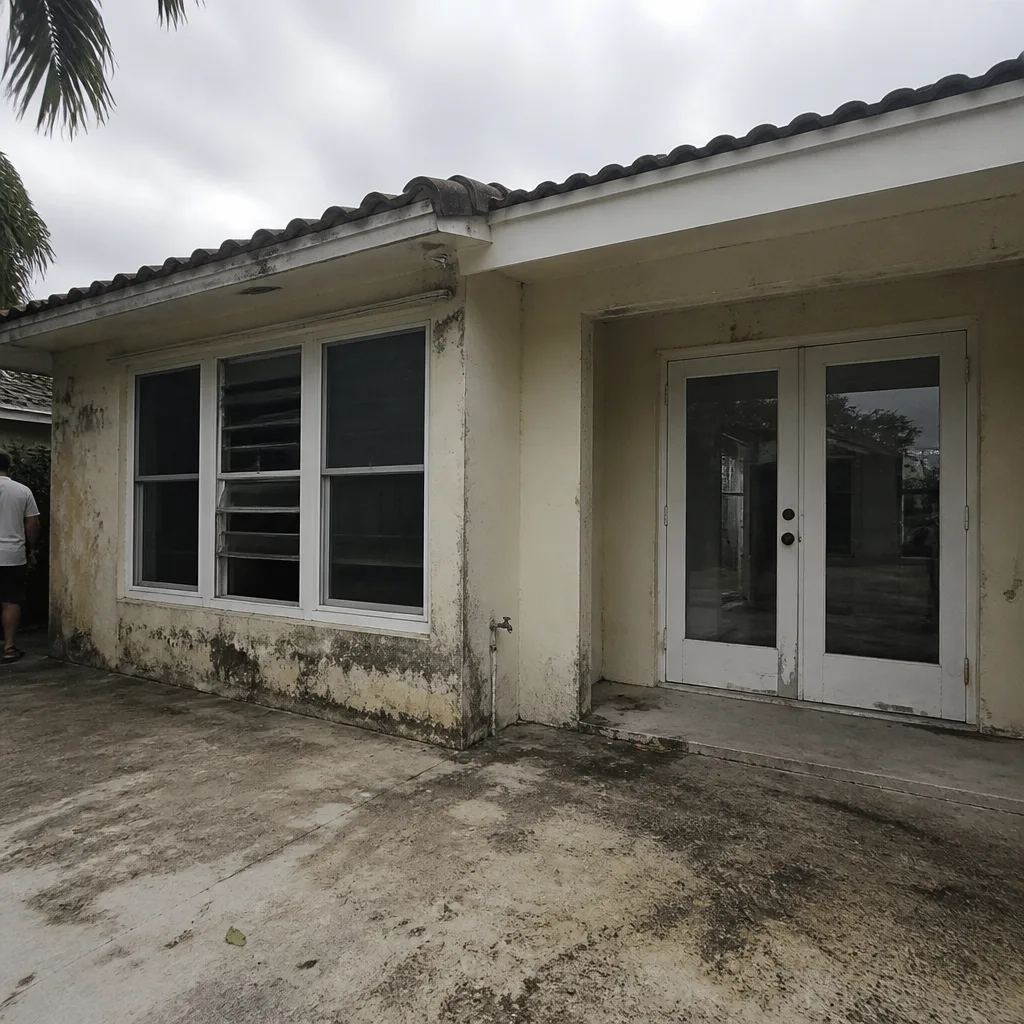 Before
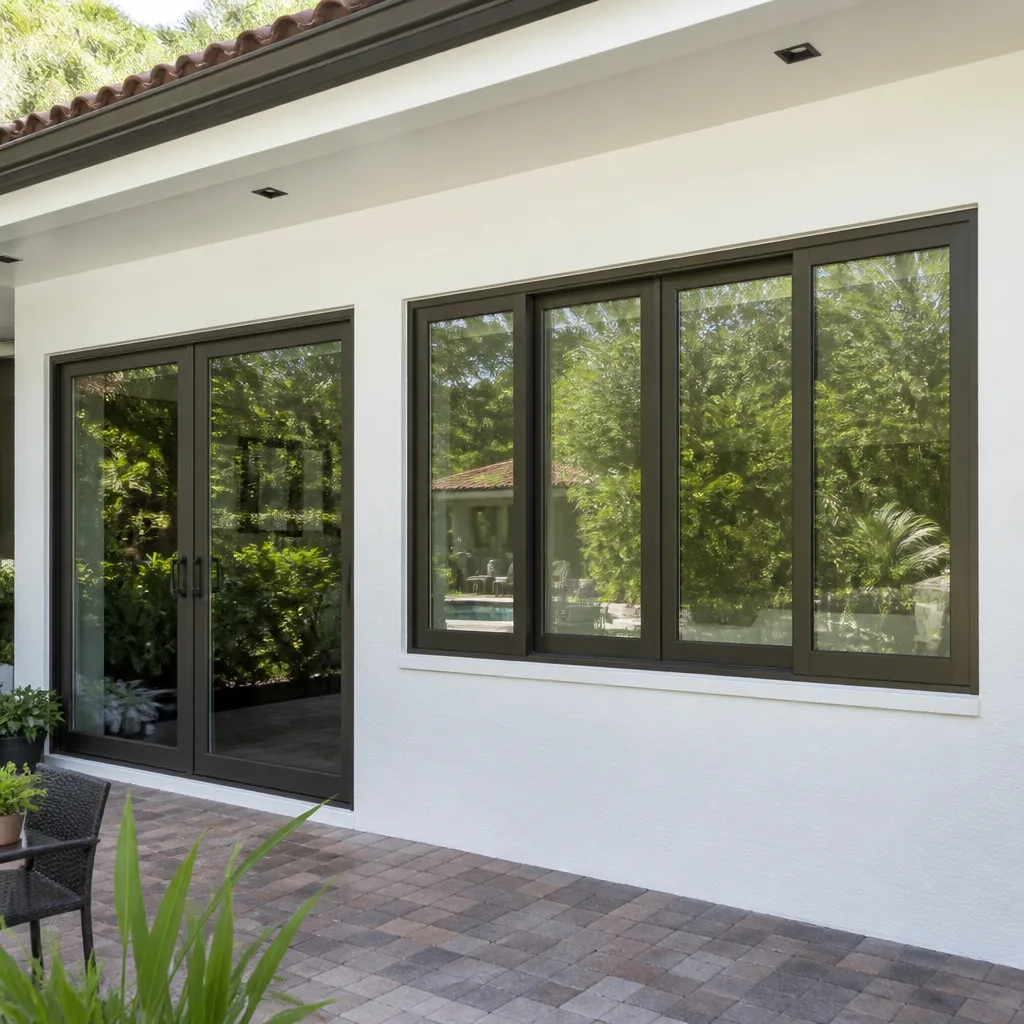 After
After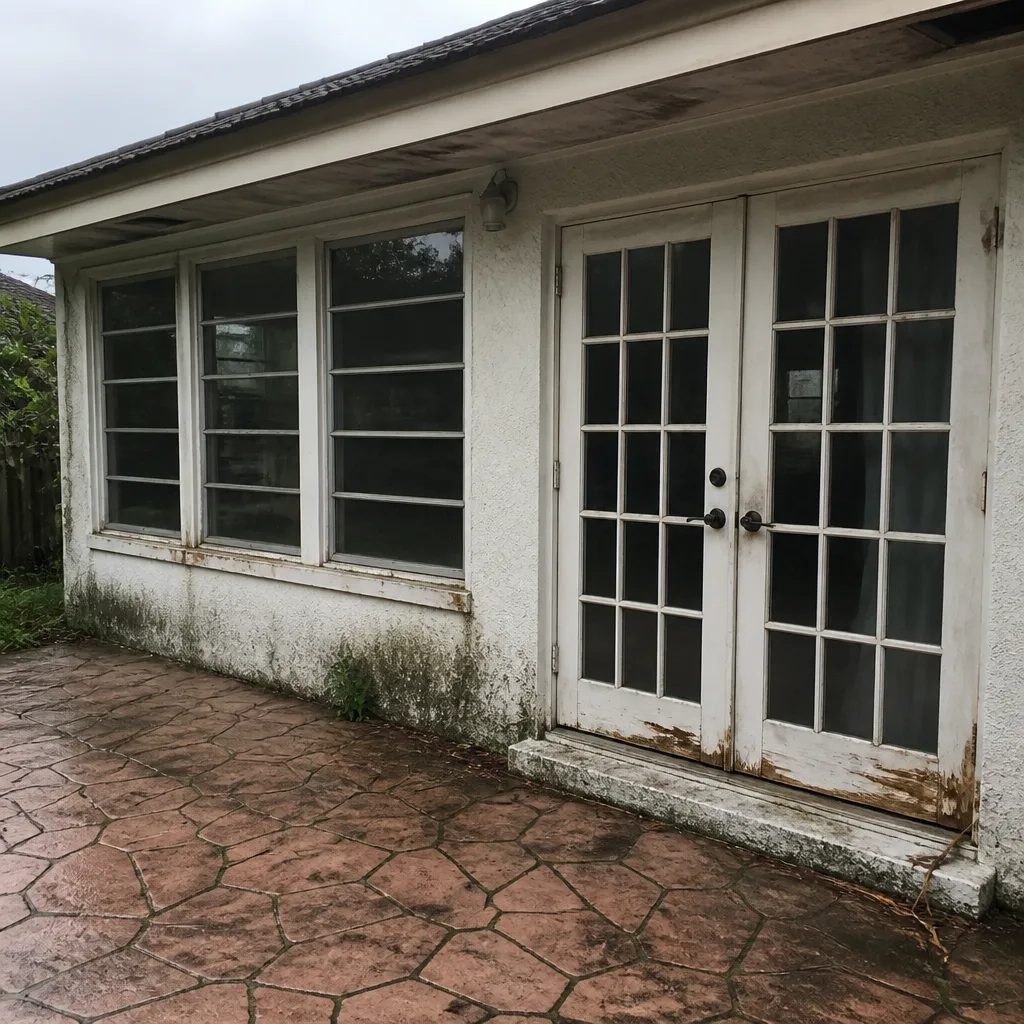 Before
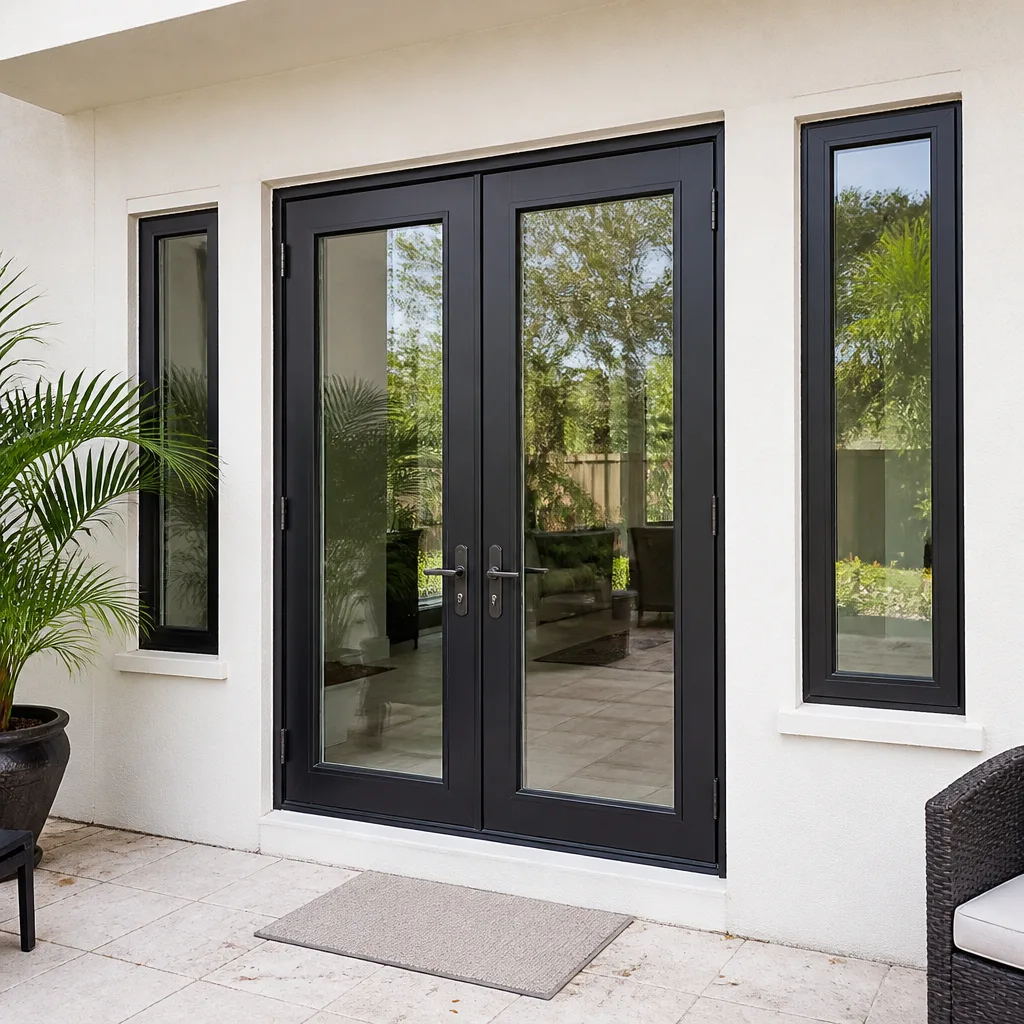 After
After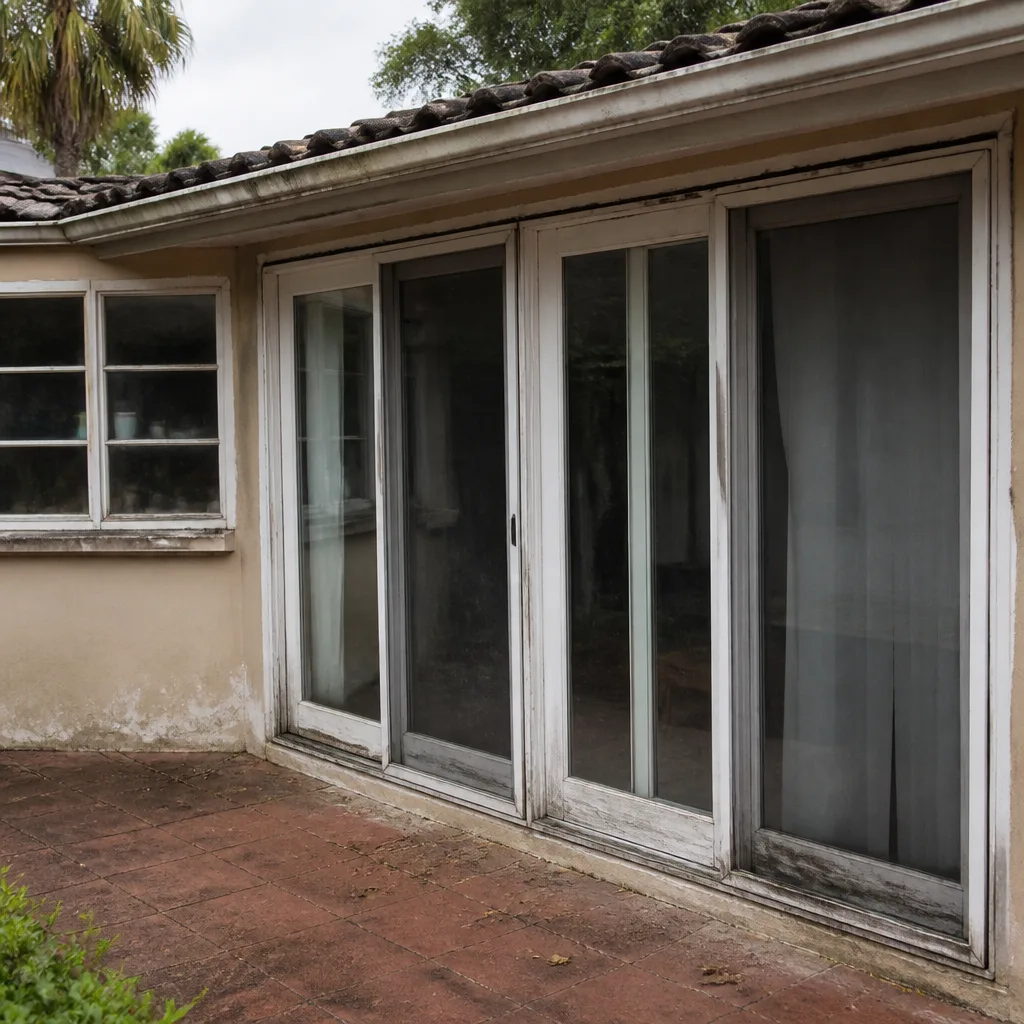 Before
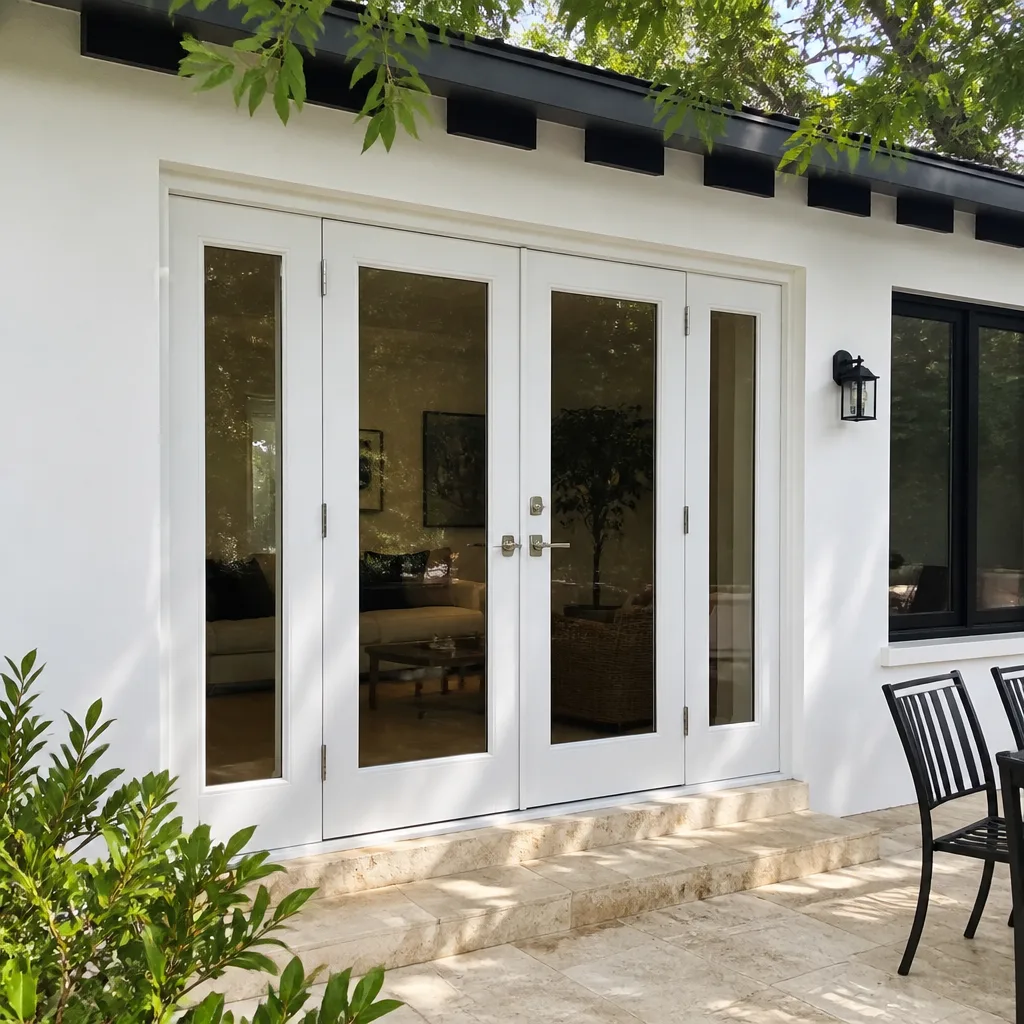 After
AfterWindows & Doors Warning Signs: A Little Gables Homeowner’s Reference Guide
The earliest warning sign of impact window seal failure isn’t fogging glass. It’s a subtle color shift in the interlayer film that most homeowners mistake for normal tinting variation. By the time fogging appears, the insulating gas is already gone and the structural lamination has been compromised for months. This guide is written specifically for Little Gables homeowners who deal with a climate that punishes windows and doors harder than almost anywhere else in Florida: salt air, hurricane-driven rain, intense UV exposure, and humidity that never truly lets up. For The Complete Guide to Windows & Doors in Little Gables, see our expanded resource. You’ll learn what to look for before a $400 repair becomes a $4,000 replacement, and how to document problems in a way that protects your warranty.
Quick Answer
The most important warning signs of window and door failure in Little Gables are interlayer discoloration on impact glass, threshold gaps that widen in summer, chalky residue that turns crystalline on aluminum frames, and water stains on ceilings several feet away from any window. Caught early, most of these issues are repairable for a few hundred dollars. Ignored, they lead to full frame replacement and structural water damage costing thousands.
Table of Contents
- The Interlayer Discoloration Test: What Normal Looks Like vs. Early Delamination
- Door Warning Signs Specific to Florida Humidity: Threshold Gaps That Move
- Cosmetic Chalking vs. Active Corrosion on Aluminum Frames
- The Water Intrusion Sign That Appears on the Ceiling, Not the Window
- Warning Signs That Void Your Warranty If Ignored
- The 15-Minute Quarterly Inspection Sequence
- Common Mistakes to Avoid
- When to Call a Professional
- Frequently Asked Questions
- The Bottom Line
The Interlayer Discoloration Test: What Normal Looks Like vs. Early Delamination
Impact windows aren’t built like regular glass. They’re laminated: two panes of glass bonded to a PVB (polyvinyl butyral) interlayer film that holds the glass together when it shatters. That interlayer is the component that fails first in coastal environments like Little Gables, and it doesn’t fail loudly. It changes color.
Here’s what a healthy interlayer looks like from inside your home: perfectly clear, with no visible tint difference between the center of the glass and the edges. When you look at the glass at a sharp angle from the outside on a bright day, you should see no waviness, no milky patches, and no rainbow-like oil-slick patterns. In our experience working on homes throughout Little Gables, we’ve seen homeowners assume a faint yellowing at the glass perimeter was factory tint. It wasn’t. It was the interlayer oxidizing.
The progression typically follows this pattern:
- Stage 1 – Edge Hazing: A faint, cloudy band appears around the outer 1-2 inches of the glass where the interlayer meets the frame seal. Most visible in morning light. This is when the PVB is beginning to separate from the glass.
- Stage 2 – Color Shift: The haze turns yellow or light brown, and it creeps inward. At this point, the chemical bond between the interlayer and glass has begun breaking down. The window still functions, but the structural lamination is degrading.
- Stage 3 – Bubbling or Wrinkling: Small air pockets or wrinkles become visible in the interlayer, usually near corners. This is active delamination. Impact resistance is now compromised even if the glass hasn’t cracked.
- Stage 4 – Visible Fogging Between Panes: Now the seal has fully failed and moisture has entered the air space. By this point, insulating gas is long gone and the gas fill has been replaced with humid Florida air, which is why condensation never clears.
If you’re seeing Stage 1 or 2, a seal repair or glass replacement may still be possible without replacing the entire frame. If you’ve reached Stage 3 or 4, the entire sash typically needs replacement. For homes near the Little Gables canals or within a mile of the bay, we recommend checking for Stage 1 signs quarterly, because salt air accelerates the oxidation timeline by roughly 30-40% compared to inland homes only a few miles east.
Door Warning Signs Specific to Florida Humidity: Threshold Gaps That Move
Here’s a scenario we see repeatedly in Little Gables: a homeowner notices daylight under their front door in August, calls a handyman, and is told the door “settled.” By January, the gap is gone and everyone forgets about it. Then next August, the gap is back, slightly wider. This is not settling, and it is not a seasonal quirk. It is frame movement, and it’s one of the most misdiagnosed door warning signs in Florida.
What’s happening is this: the wooden door frame and the concrete slab it sits on expand and contract at different rates through Florida’s wet and dry seasons. In summer, the slab and framing absorb moisture and swell, which should close gaps, not open them. If the gap opens in summer, it means the frame has bowed outward or the hinges have pulled away from the jamb. The humidity isn’t causing the gap. The humidity is revealing a structural problem that exists year-round but only becomes visible when the wood swells.
Watch for these specific indicators:
- A gap that changes width with the seasons is the clearest sign of frame movement. A properly installed door in Little Gables should show no more than 1/8-inch variation between August and February.
- Screw heads backing out of hinge plates even slightly. This means the wood around the screws is losing integrity (usually moisture damage or compression failure).
- Door rubbing at the latch-side top corner in summer only. The door is racking in the frame, not the frame sagging uniformly.
- Weatherstripping worn unevenly - compressed flat on one side, untouched on the other. This records the door’s drift over time.
Frame movement left unaddressed eventually twists the door slab itself, especially on wider single doors and double entry doors. Fixing the frame early costs a few hundred dollars. Replacing a warped Therma-Tru entry door and reframing the opening can run into the thousands. When homeowners in Little Gables ask us whether a moving gap is “normal for Florida,” the answer is no, but it is common, and it’s worth addressing at the first sign of seasonal variation. If you’re weighing options, our DIY vs Professional Windows & Doors: The Little Gables Homeowner’s Decision Guide can help you decide on next steps.
Cosmetic Chalking vs. Active Corrosion on Aluminum Frames
Chalking is normal. Corrosion is not. Knowing which one you’re looking at is the difference between a cosmetic cleaning and a structural repair, and salt air in Little Gables makes the distinction more urgent than in inland areas.
Chalking happens when the paint or powder coating on an aluminum frame breaks down under UV exposure and the pigment degrades into a fine, powdery residue. If you rub your finger across a chalked frame and the powder wipes off to reveal a smooth, intact surface underneath, that’s cosmetic chalking. It’s ugly but harmless. Most aluminum frames in South Florida will chalk within 10-15 years, and coastal homes in Little Gables may see it in 7-8.
Active corrosion looks and feels different:
- Texture: Corrosion feels rough, pitted, or gritty even after you wipe away the loose residue. The metal itself is breaking down, not just the coating.
- Color: White or pale gray powder is chalking. White powder with a crusty, crystalline texture that reappears quickly is corrosion (aluminum oxide). Dark gray or black pitting, however, is advanced corrosion and a sign that the frame may have lost structural edge integrity.
- Location: Chalking appears on sun-exposed surfaces. Corrosion concentrates at corners, screw holes, gasket seats, and anywhere two different metals touch (like a steel screw in an aluminum frame, which creates galvanic corrosion).
- Progression: Chalking is uniform and slows over time. Corrosion accelerates once it starts because the oxide layer creates crevices that trap salt and moisture against the bare metal.
If you find active corrosion on a window frame in Little Gables, especially on an impact window that is supposed to protect your home during a storm, do not ignore it. The frame loses strength as the corrosion eats into the aluminum, and in a severe wind event, a corroded frame can tear loose from the rough opening. This is also a situation where a professional evaluation matters: some corrosion can be treated and repainted, but structural corrosion near the edge of the glass or the mounting flanges often means frame replacement. Our How to Hire a Windows & Doors Contractor in Little Gables: A Step-by-Step Guide walks you through finding qualified help. If you have PGT impact windows and notice corrosion near the screw bosses, the mounting hardware may be failing and the wall anchoring should be checked.
The Water Intrusion Sign That Appears on the Ceiling, Not the Window
Here is the single most misdiagnosed water intrusion warning sign in Little Gables homes: a water stain on the ceiling that is not directly under a roof leak. Homeowners see a brown ring on the drywall and immediately assume the roof is failing. Sometimes they’re right. But in many single-story homes, the water is entering at a window or door and traveling horizontally before it drips onto the ceiling.
How does water get from a window to a ceiling? It runs downhill, and in Florida construction, the top plate of the wall sits directly under the roof deck, while the ceiling drywall is attached to the bottom of the trusses or joists. Water that leaks around the top of a window frame soaks the rough opening framing. It then wicks sideways along the top plate, travels a few feet, and drips down through the ceiling at the nearest seam or penetration, which is often 3 to 6 feet away from the window itself.
Look for these patterns:
- The stain is vague and spreads outward along a seam line rather than pooling directly under a single point (which would suggest a roof leak).
- The stain appears or worsens after heavy rain with driving wind, but doesn’t correlate with standing water on the roof. Wind-driven rain is exactly the kind that gets pushed into window drainage channels or around failed exterior caulking.
- The stain is on the ceiling near an exterior wall, not in the middle of the room. Check the wall above it for swollen baseboards, bubbling paint, or discoloration at the wall-ceiling junction.
- Multiple stains at roughly the same distance from different windows appear over time. This points to a systemic flashing or sealant failure, not a single roof leak.
We’ve traced dozens of “roof leaks” in Little Gables homes back to the top seal of a window or a sliding glass door that had been leaking for months before the ceiling showed any sign. The roofing contractor gets called first, finds nothing wrong, and the homeowner spends a season chasing a ghost. Meanwhile, water is soaking into the header and top plate. Next time, consider the windows as a source, particularly if the impact windows in Little Gables were installed more than a decade ago and the exterior sealant hasn’t been touched since. Water intrusion at the rough opening is also one of the most expensive problems to repair because it requires removing interior trim and possibly drywall to dry out the framing properly.
Warning Signs That Void Your Warranty If Ignored
Every major window and door manufacturer writes maintenance requirements into their warranty. Not meeting them can void coverage. That’s true for PGT, Mr-Glass, and Therma-Tru. Here are the warning signs that, if ignored past a documented point, are most likely to cause a warranty denial when you finally file a claim.
First, the rule that surprises homeowners: most impact window warranties require that you inspect and clean the drainage channels (the little slots on the bottom rail of the frame exterior) at least once a year. If those channels clog with debris, leaves, or insect nests and water backs up into the frame, the resulting damage is considered maintenance neglect, not a manufacturing defect. A clogged drainage channel is a warning sign you can fix in ten minutes with a stiff brush and a hose, but if you leave it for years and then file a seal failure claim with photos showing debris packed into the weeps, you may be denied.
Other warranty-voiding warning signs:
- Interlayer discoloration that goes unreported past the warranty window. Most impact glass warranties are “pro-rated after X years from the date of failure discovery,” not from the date you call. If you noticed the haze two years ago and only now call, you’ve lost two years of coverage. Document it on the day you see it.
- Caulking that has separated from the frame or wall surface. This is an installation-seal failure, but if you let water run behind it for two rainy seasons, the manufacturer will often classify the resulting frame rot or glass seal failure as environmental damage from an unsealed opening, not a product defect.
- Operating a window that has become difficult to open or close. Forcing a stuck sash damages the balance system and can twist the frame. If the window is fighting you, stop using it and address the problem. Most hardware failures are repairable, but damage caused by forcing is not covered.
- Pooling water at the base of a door frame after rain. This is often a threshold or sill pan issue. Left unresolved, water rots the subfloor and the warranty claim escalates from a door repair to a floor replacement, and the door manufacturer won’t cover the floor.
Protect yourself with a paper trail. Photograph the warning sign with a date stamp, write down the date you first observed it, and keep any professional inspection reports. When you call a company for service, ask for a written diagnosis. This is exactly the kind of documentation that makes the difference between a covered claim and an expensive argument.
The 15-Minute Quarterly Inspection Sequence
Here is a simple, repeatable inspection sequence for Little Gables homeowners. It takes about 15 minutes and catches the warning signs described in this guide before they become visible as catastrophic failures. Do this in late fall after hurricane season and in late spring before the summer storms build.
- Exterior walk-around at arm’s length from the wall. Look at each window and door frame for visible cracking, separation, or chalking that looks crystalline rather than powdery. Note any frame that appears to have pulled away from the stucco or siding.
- Run a finger along the bottom rail of each window frame. Check for spongy or soft spots in the metal or wood. Check that drainage weeps are clear of debris.
- Inspect the interlayer on every impact window from inside. Look for edge hazing, yellowing, or bubbling. Do this in morning light when low-angle sun makes the interlayer defects easiest to see.
- Open and close every window and door. Note any new resistance, scraping, or a changed feel. A door that was smooth in January and sticks in July is telling you something about frame movement.
- Check door thresholds for visible daylight. Do this from inside with the door closed and the interior lights off. If you see light, the weatherstrip has failed or the door is out of plane.
- Look at ceilings near exterior walls for faint stains or shadow lines. Water stains often appear first as a subtle gray shadow before they turn brown. Shine a flashlight at a low angle across the ceiling surface.
- Photograph anything unusual. Even if you’re not sure it’s a problem, date-stamp a photo. If the issue worsens, you have a baseline record.
Most of these items require no tools and no training. They require paying attention. In our experience, homeowners in Little Gables who do this quarterly inspection catch window and door problems at a stage where the repair costs 10-20% of what a full replacement would cost. That is the entire point of this guide.
Common Mistakes to Avoid
- Assuming fogging is the first sign of seal failure. By the time condensation appears between the panes, the seal has been compromised for months or years. Look for the earlier signs described above (edge hazing, interlayer color shift) and act then.
- Painting over corrosion on aluminum frames. Painting over active corrosion locks salt and moisture against the metal and accelerates the failure. The corrosion must be removed and the metal treated before recaulking or painting.
- Ignoring a seasonal door gap because “it’s always done that.” A gap that closes in winter and opens in summer is not a seasonal quirk, it’s frame movement. The longer it continues, the more damage accumulates in the jamb and the hardware.
- Calling a roofer first for an interior ceiling stain. Before you patch drywall, check the windows and doors on the wall nearest the stain. In Little Gables single-story homes, window-driven water is a more common cause than many roofers would like to admit.
- Not documenting the date you first noticed a problem. Warranty coverage is often tied to the date of failure discovery. If you noticed edge hazing on your PGT impact windows in March and waited until August to call, you may have lost five months of pro-rated coverage.
- Forcing a stuck window or door. A sash that resists movement is signaling a hardware or frame problem. Forcing it damages the balance system, the locking mechanism, or the frame itself, and that damage is not covered by warranty.
- Using a pressure washer on window frames near the coast. High-pressure water forces salt into seals, drainage channels, and any micro-cracks in the coating. Use a garden hose and a soft brush instead.
When to Call a Professional
Some warning signs are informational; others require immediate attention. If you see interlayer bubbling or wrinkling on an impact window, the structural lamination has begun to fail and the window no longer provides the rated impact resistance. Call a professional immediately. If you have active corrosion that has pitted the aluminum frame surface, especially near the mounting points or glass edge, a structural evaluation is warranted. Water stains on ceilings near exterior walls should be investigated before the next heavy rain, because each rain cycle compounds the damage inside the wall cavity. Winslow Windows & Doors offers free estimates in Little Gables, and we’ll give you a written diagnosis you can use for warranty purposes. Call (727) 291-4678 and a real person will answer, day or night. Ed’s name is on the door, and on every job we do.
Frequently Asked Questions
The earliest sign is edge hazing or yellowing in the interlayer film, visible as a cloudy band around the perimeter of the glass before any fogging appears. Salt air in Little Gables accelerates this process, so inspect quarterly. Call (727) 291-4678 for a free estimate if you see any hazing.
A gap that widens in summer and closes in winter indicates frame movement, not normal settling. Florida humidity swells the wood around the door, and if the frame is bowed or the hinges are pulling out, the swelling reveals it. This is addressable with frame repair or re-hanging, but it worsens over time.
Active corrosion looks rough, pitted, and crusty, often white or gray with a crystalline texture that reappears after cleaning. Cosmetic chalking, by contrast, wipes away to reveal smooth metal underneath. Near Little Gables, corrosion concentrates at screw holes, corners, and anywhere two different metals touch.
Yes, and this is common in single-story Florida homes. Water enters around the top of the window frame, travels sideways along the top plate, and drips through the ceiling several feet away. Before patching the ceiling, check windows and doors on the nearest exterior wall.
Photograph the problem with a date stamp, write down the date you first observed it, and keep any professional written diagnosis. Manufacturers tie pro-rated coverage to the discovery date, not the date you call. A written inspection report strengthens your claim significantly.
Quarterly, and ideally once in late fall after hurricane season and once in late spring before summer storms. The full inspection sequence above takes about 15 minutes and requires no special tools. Coastal salt air means problems develop faster here than inland.
The Bottom Line
Windows and doors in Little Gables face an environment that accelerates every failure mode: salt air, hurricane winds, intense UV, and unrelenting humidity. The difference between a $400 repair and a $4,000 replacement is attention. Learn to read the early warnings: edge hazing in impact glass, seasonal door gaps, crystalline corrosion, ceiling stains that trace back to a window rather than the roof. Document what you find, act before the warranty clock runs down, and don’t let a small signal become a structural problem. We’ve been in this community since 2011, and Winslow Windows & Doors home is the one down the road. For a free second opinion on any written estimate, a window installation in Little Gables consultation, or window replacement in Little Gables pricing, call (727) 291-4678. A neighbor you can call at 2 a.m., and someone will actually answer.
Written by Ed Winslow, Owner at Winslow Windows & Doors, serving Little Gables since 2011.
Six Reasons Homeowners Choose Winslow Windows & Doors
Impact systems engineered to design pressures up to +/-100, matched to your wind zone - your openings hold when the storm arrives.
Low-E insulated impact glass from our manufacturer lines commonly cuts monthly cooling bills 20-30%.
Laminated impact glass shuts out up to 40% of outside noise - traffic, neighbors, weather.
Monitoring services run $30-90 a month. Laminated impact glass resists forced entry around the clock, with no subscription.
Florida homeowners average around 25% savings on the windstorm portion of their policy after protecting every opening - some homes qualify for more.
A full impact package upgrades curb appeal, buyer confidence and appraised value in one project.