
Last updated August 27, 2026
Free in-home measure and quote - PGT, CGI and CWS impact lines compared on your actual openings, style by style
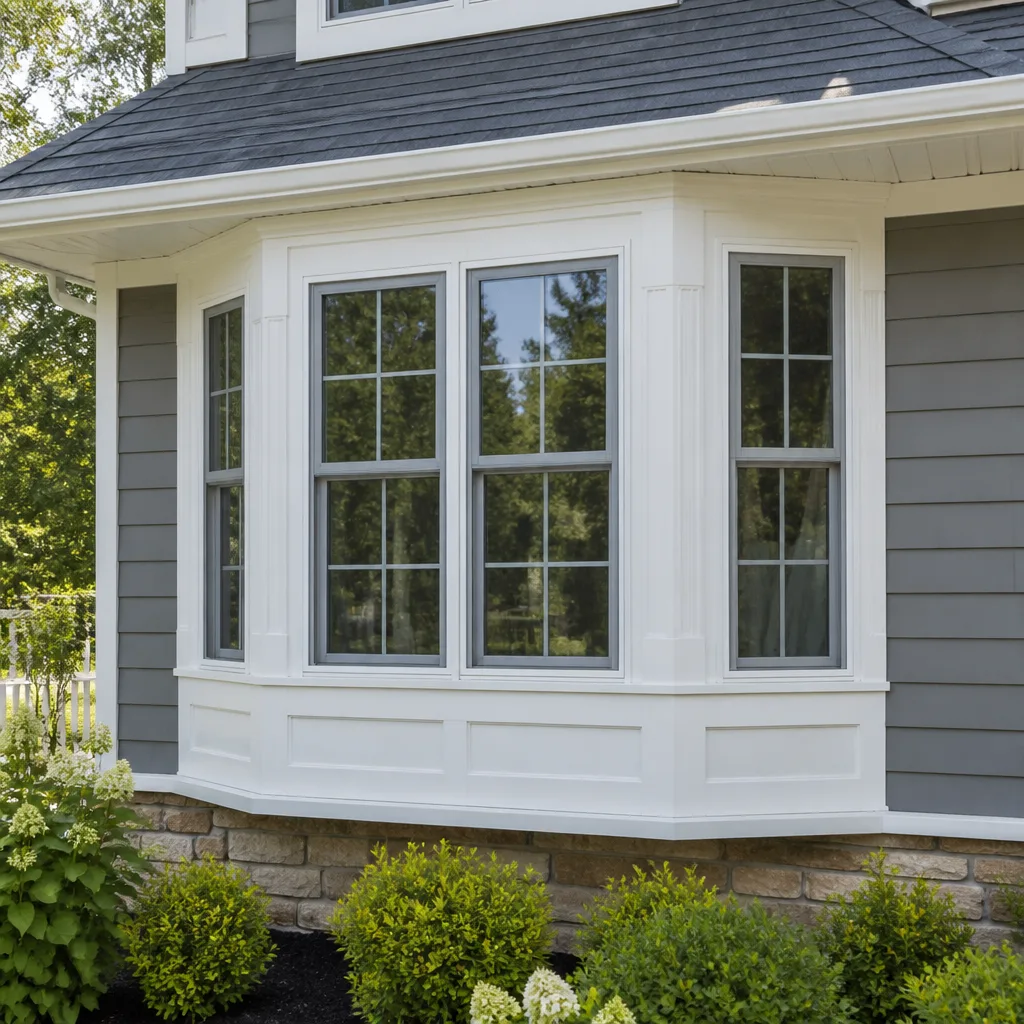
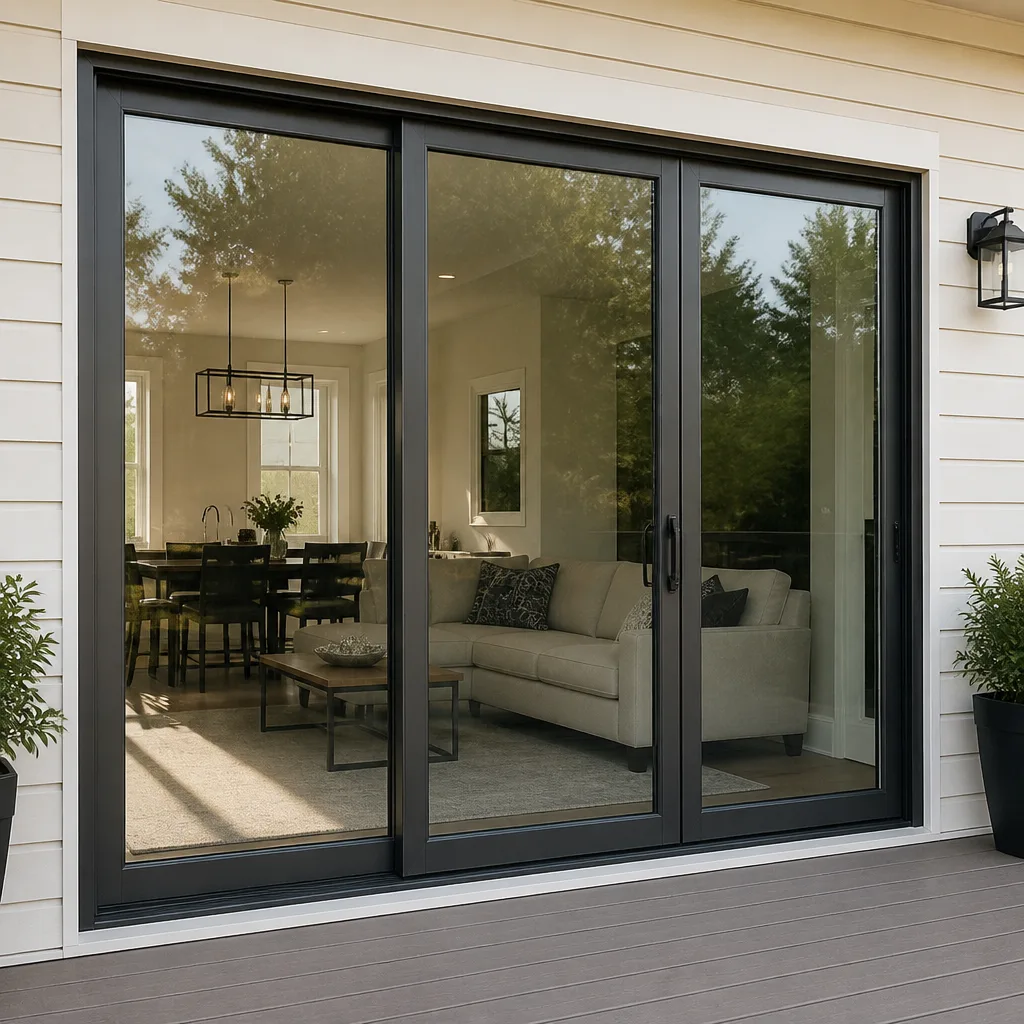
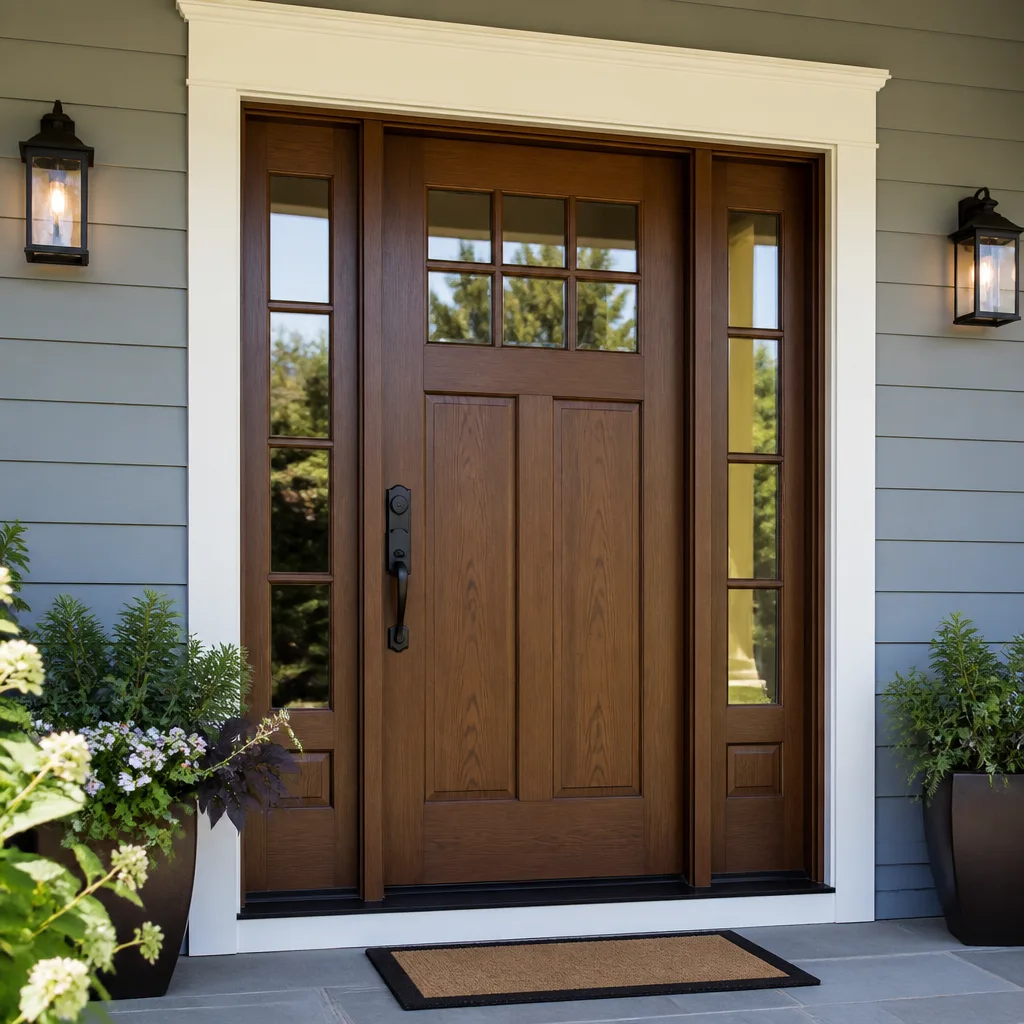
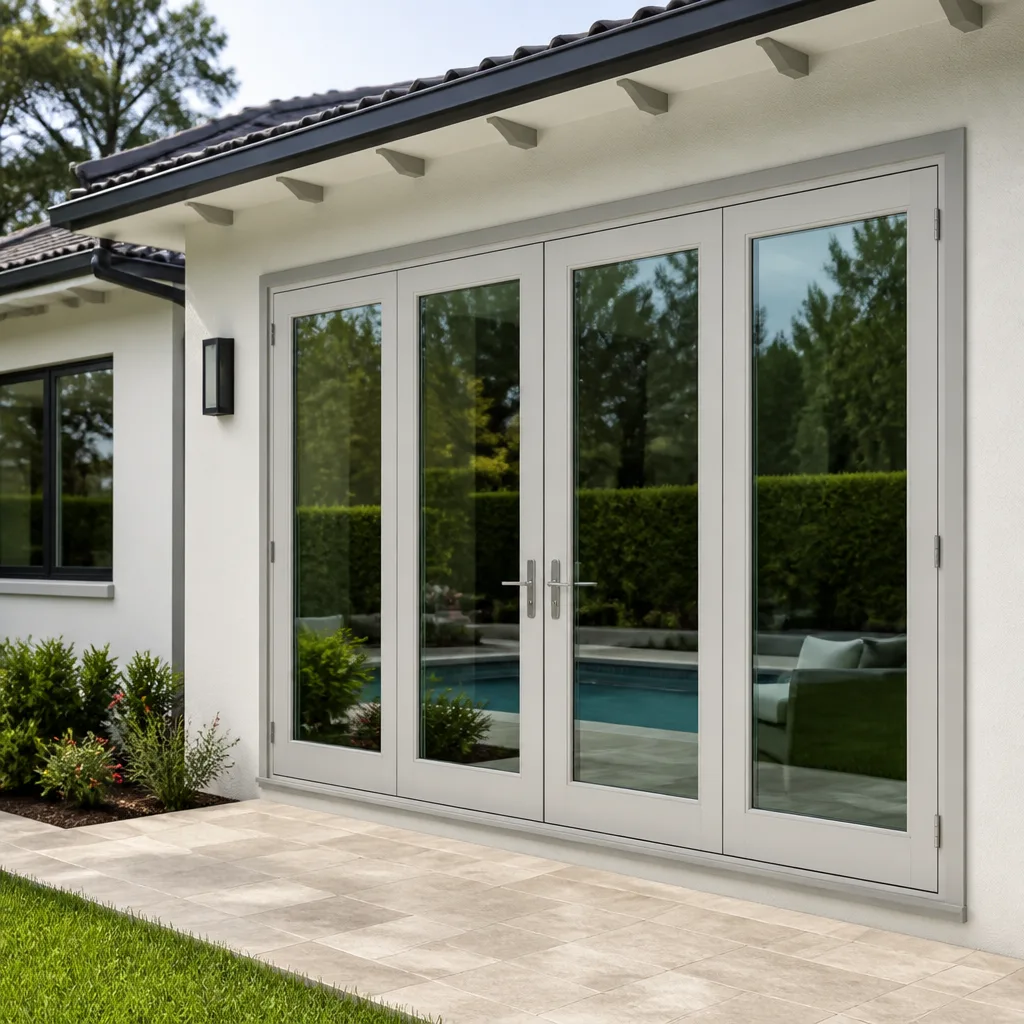

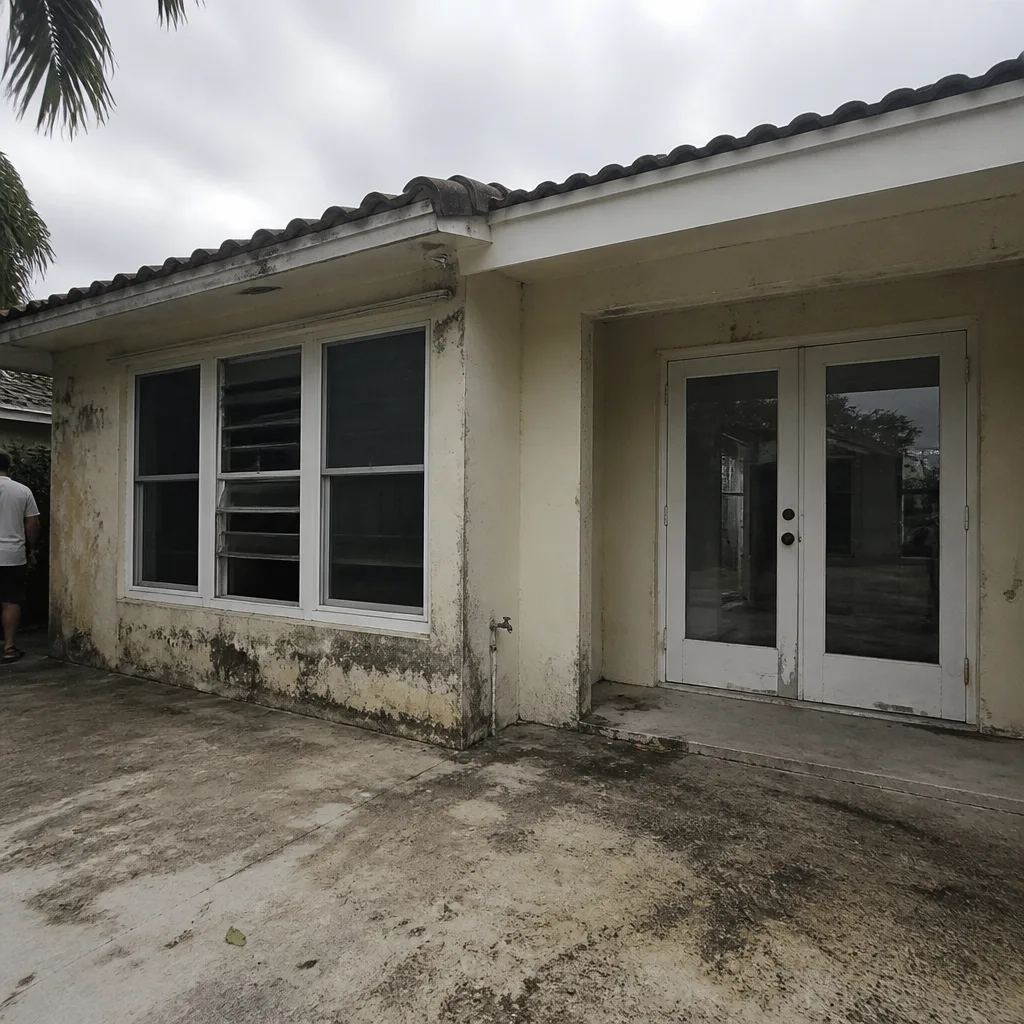 Before
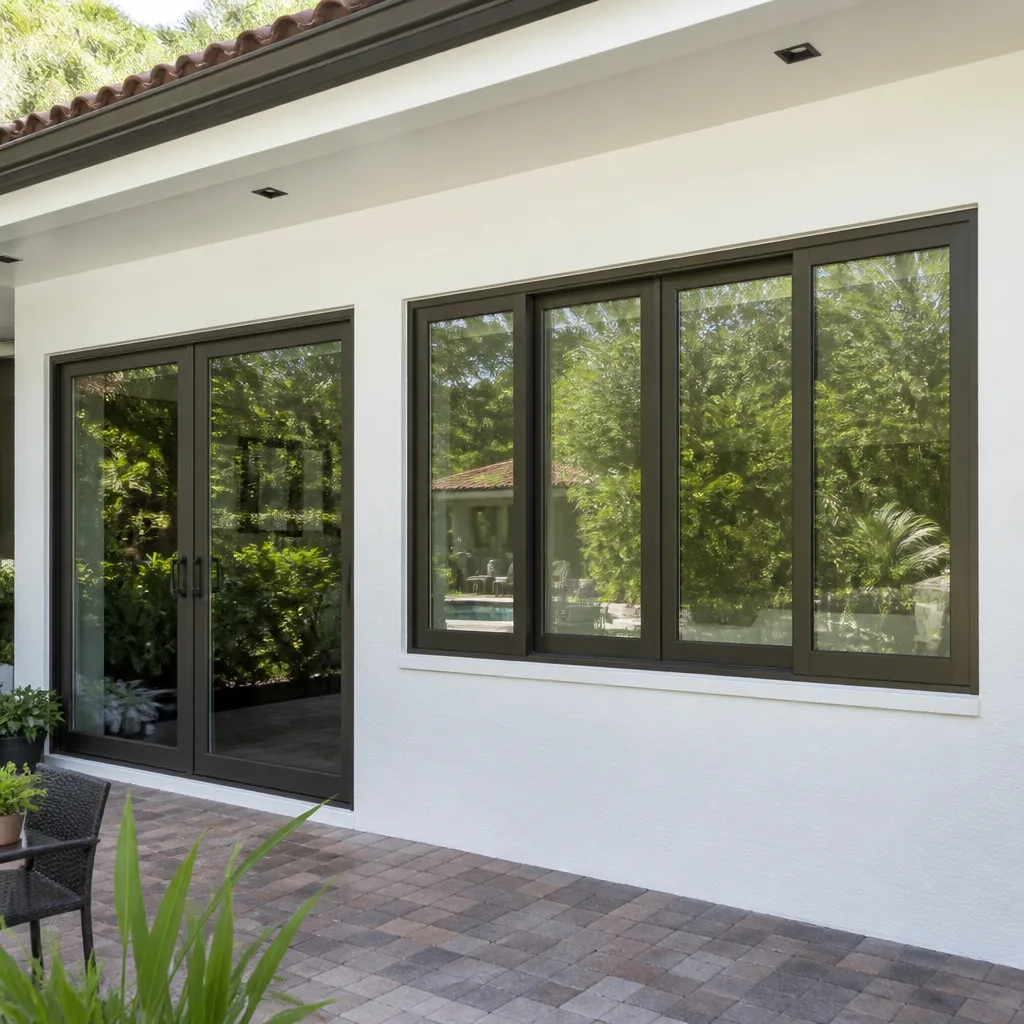 After
After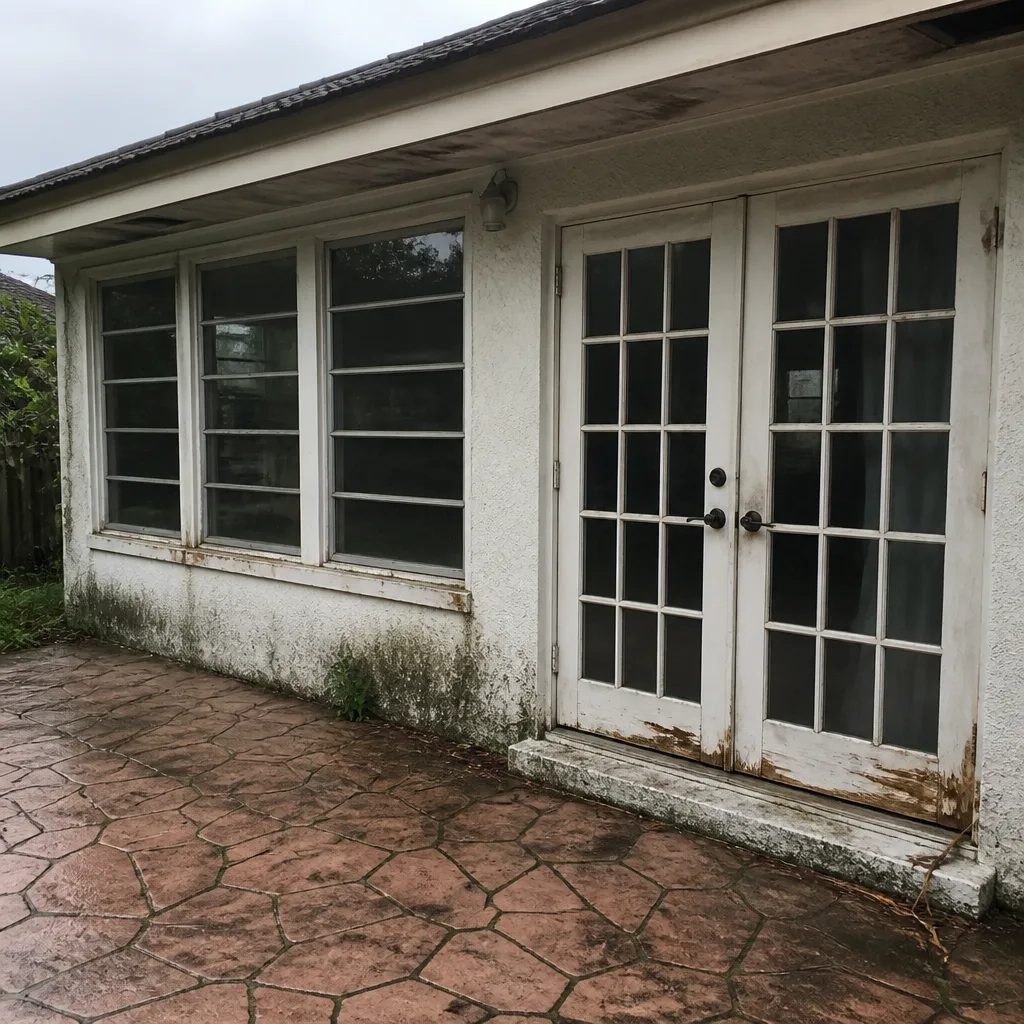 Before
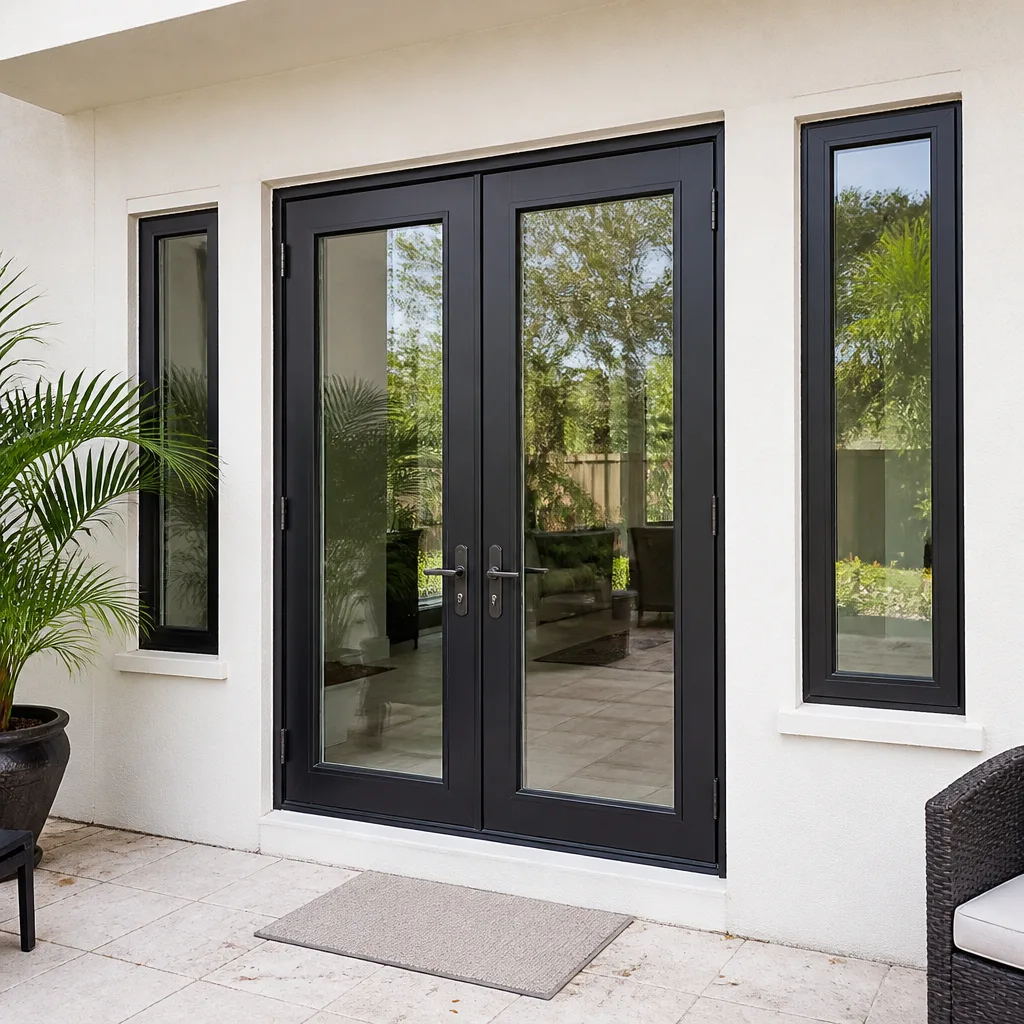 After
After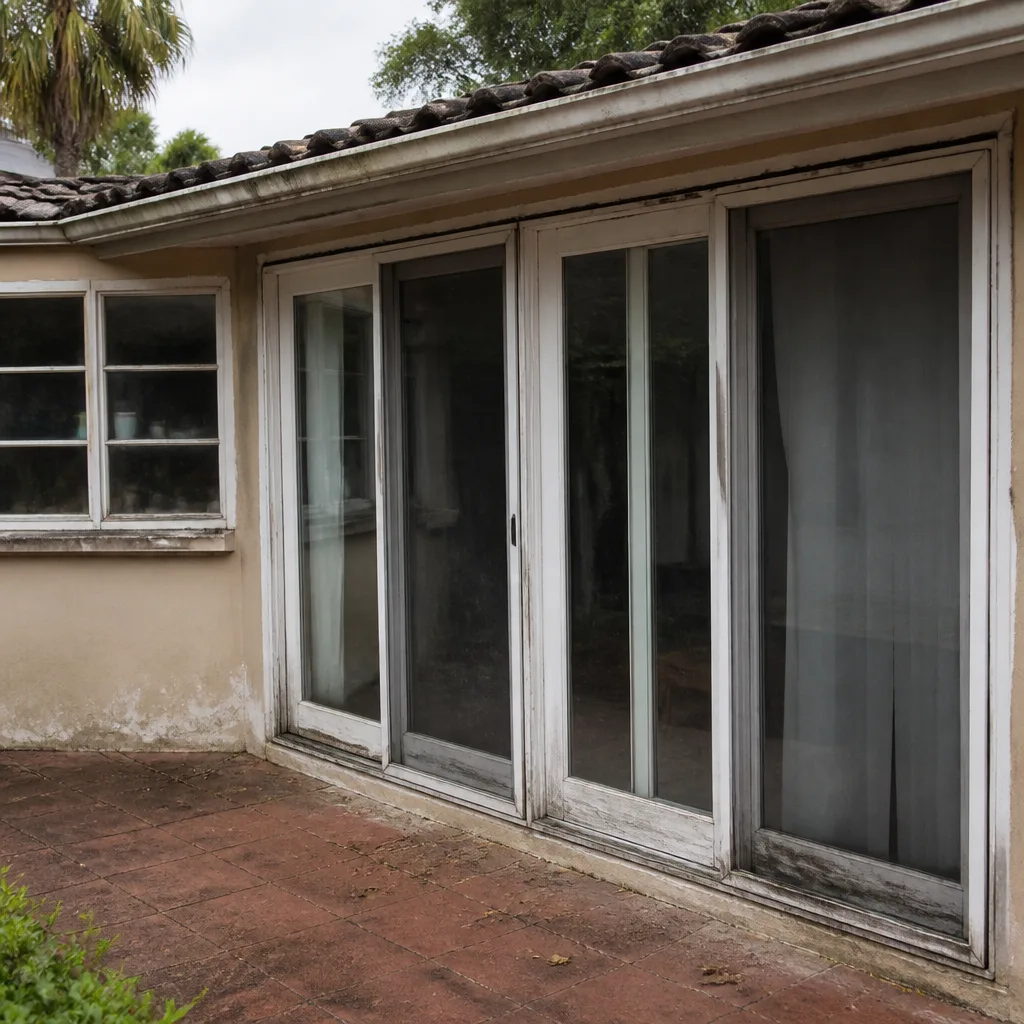 Before
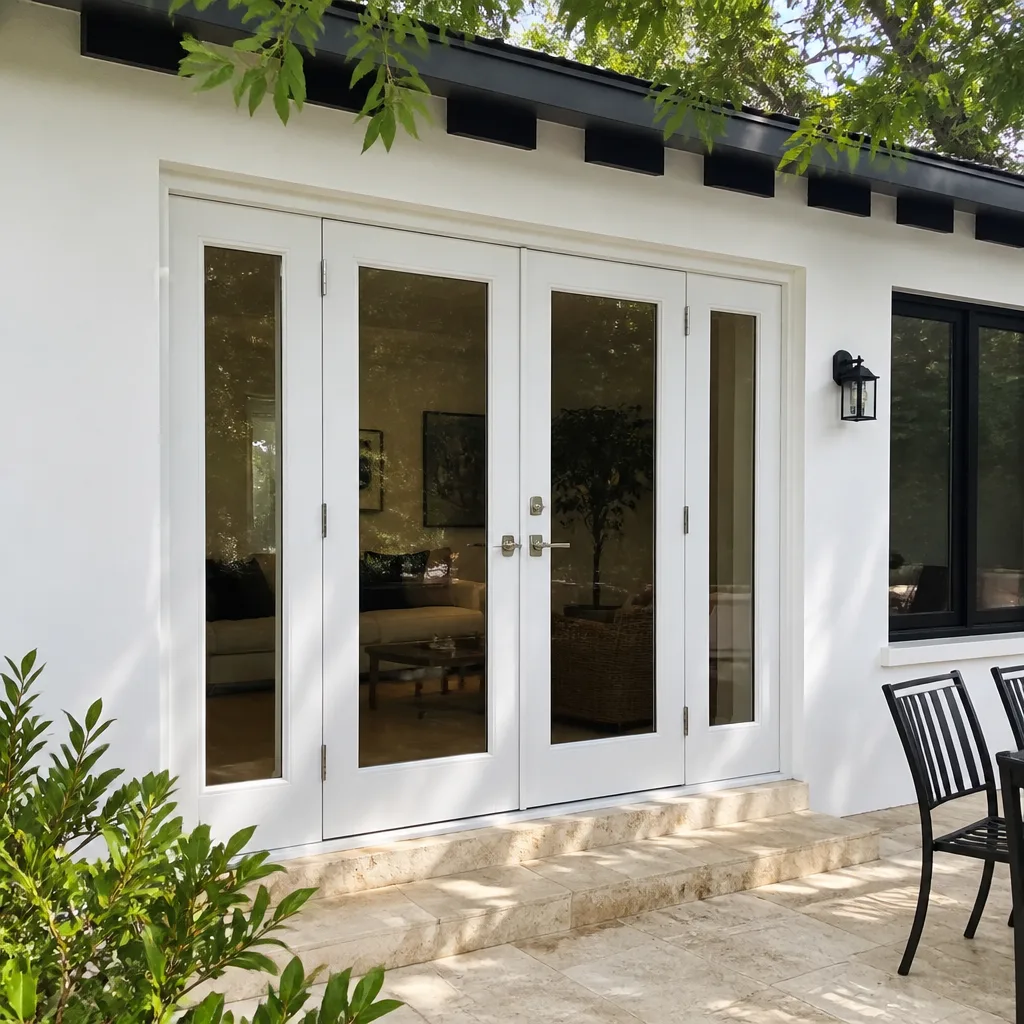 After
AfterSeasonal Windows & Doors Care for Little Gables: Year-Round Homeowner’s Guide
The most damaging month for Little Gables windows and doors isn’t August during a named storm. It’s November, when the last feeder band has passed, the shutters come down, and homeowners exhale. That’s when thousands of homes in Little Gables skip post-storm inspection entirely, assuming the worst is over, while salt-laden moisture sits unseen inside aluminum frames and under door thresholds, eating away at seals and hardware for six uninterrupted months. By the time the first June thunderstorm of the next season arrives, failures that could have been caught in a 20-minute walkaround have become structural. This guide replaces the generic “check weatherstripping in fall” advice written for northern climates with something built for where we actually live: a two-season calendar built around hurricane season and the dry months you use to prepare for it. You’ll learn the specific tasks that matter here, the inspection windows that protect your insurance claim, and the difference between maintenance you can handle and conditions that need a trained eye.
Quick Answer
Seasonal window and door care in Little Gables means running two distinct maintenance cycles each year: a pre-season hardening window from December through May (inspect, clean, lubricate, realign, reseal) and a post-storm response window in the 48 hours after any significant weather event (document, photograph, dry, assess). The single highest-ROI task is the annual multi-point lock alignment check on every exterior door, because thermal expansion in coastal humidity warps frames so slowly that misalignment becomes a warrantied repair instead of a routine adjustment. Pair that with dry-season resealing of all window perimeters and you eliminate roughly 70% of the failures we see in Little Gables homes each year.
Table of Contents
- The Two-Season Reality of Little Gables
- The Dry Season Calendar: December Through May
- The Post-Storm 48-Hour Window: What to Photograph and in What Order
- How to Test Door Multi-Point Lock Alignment Annually
- Salt, Coating, and the Frames You Can’t See
- When Maintenance Crosses into Warranty-Triggering Repair Territory
- Common Mistakes to Avoid
- When to Call a Professional
- Frequently Asked Questions
- The Bottom Line
The Two-Season Reality of Little Gables
Little Gables doesn’t have four seasons. It has two: hurricane season, which the calendar says runs June 1 through November 30, and the dry season, which is everything else. Every maintenance decision you make about windows and doors should map to one of those two realities. The frame rot, the fogged glass, the door that suddenly won’t latch, the window that whistles during afternoon thunderstorms: none of these happen randomly. They follow a pattern that repeats every single year, and once you see the pattern, you can get ahead of it.
The dry months, December through May, are when you harden the house. The sun is lower, the humidity drops slightly, and caulk and sealant cure properly. This is the window for resealing, repainting, lubricating, and adjusting. It’s also the stretch when most homeowners in Little Gables do nothing, because there’s no storm on the radar and no urgency. That’s the trap. The work you skip in March is the work that fails in September.
Hurricane season, June through November, is when you monitor and respond. The prep work is already done, or it isn’t. Once a system forms in the Atlantic, you’re not doing deep maintenance anymore; you’re executing a pre-storm checklist and then, after it passes, a documentation protocol. Miss the post-storm documentation and you’ve handed your insurer a reason to deny or underpay a legitimate claim. We’ve walked Little Gables homeowners through both cycles enough times to know that the people who treat their windows and doors as an annual system, not a collection of individual problems, spend dramatically less over a ten-year period. For more on spotting trouble before it becomes costly, see our Windows & Doors Warning Signs: A Little Gables Homeowner’s Reference Guide.
For homeowners considering an upgrade before the next season, impact windows in Little Gables change the maintenance calculation entirely, but the care calendar below still applies to any window or door product.
The Dry Season Calendar: December Through May
Here’s the counterintuitive part: the dry season is when the most expensive failures are prevented. Not during storm prep in June. The dry months are your window for real work, because sealants cure, paint bonds, and adjustments hold. Here is the month-by-month calendar we recommend to homeowners throughout Little Gables.
December: Full Exterior Walkaround
The first dry month is about baseline. Walk every window and door on the house with a flashlight and a notepad. You’re looking for three things: gaps in caulk or sealant, white oxidation or pitting on aluminum frames, and any door that takes more than normal effort to latch. Write down everything. This list becomes your six-month work plan. Don’t fix anything yet; just document.
January: Reseal and Recaulk
This is the single best use of a January weekend in Little Gables. Any gap you found in December gets cleaned out and resealed now, while the humidity is low enough for the sealant to cure correctly. Pay particular attention to the top edges of window frames, where water runs down the wall during storms, and the underside of door thresholds, where splashback saturates wood and composite. If a frame shows more than surface corrosion, that’s beyond caulk: call for an assessment.
February: Multi-Point Lock Alignment Check
The full procedure is covered in a dedicated section below, but February is the month to do it. Thermal expansion from months of heat and humidity warps door slabs and frames by millimeters at a time. A multi-point lock that’s even slightly out of alignment wears down the gearbox every time you operate the handle. By the time you feel resistance, you’re often already looking at a replacement mechanism rather than an adjustment.
March: Lubricate All Moving Hardware
Window tracks, sliding door rollers, hinges, lock points, and handle mechanisms all need lubrication once a year. Use a dry silicone spray on tracks and rollers, and a light machine oil on lock points and hinges. Avoid WD-40 as a long-term lubricant: it displaces moisture well but strips the existing lubrication after it evaporates, leaving hardware drier than before. This is also the month to clear drainage weep holes at the bottom of window frames with a small wire or compressed air.
April: Glass and Weatherstripping Inspection
Check every pane for early signs of seal failure: condensation between panes, a subtle haze that doesn’t wipe off from either side, or visible distortion near edges when you look at a reflection. Failed seals in Little Gables usually trace back to thermal stress from sun exposure or to saltwater intrusion from a prior storm that was never fully addressed. Then replace any weatherstripping that’s flattened, cracked, or pulling away from its channel. This includes door sweeps and the pile weatherstripping on sliding glass doors, which wears out faster in salty coastal air than manufacturers typically estimate.
May: Final Pre-Season Audit
Everything you documented in December should be resolved by now. Walk the house one more time and check each item off. Open and close every window and both doors at least twice. If anything is still catching, sticking, or grinding, this is the last window to address it before the Atlantic wakes up. By June 1, the house should be as close to hardened as it’s going to get for that season.
For homeowners who discover significant frame degradation during this audit, window replacement in Little Gables often becomes the more cost-effective path than continued patching, especially on homes with original aluminum frames.
The Post-Storm 48-Hour Window: What to Photograph and in What Order
Here is the process we walk homeowners through every time a significant storm passes over Little Gables. It matters because insurance adjusters, when faced with insufficient documentation, default to the most conservative estimate. Your photographs are the difference between full repair approval and a fight.
The Principle
Document before you clean, before you dry, before you move anything. The evidence is in the water line, the debris pattern, and the condition of the point of water entry. Once you wipe it down, you’ve erased the proof.
The Sequence
- Exterior approach shots. Stand back and photograph each side of the house. These establish context for everything that follows.
- Exterior frame and sill damage. Close-ups of any cracked caulk, dented frames, loosened screws, or shifted stucco around window and door openings.
- Interior water entry points. Before touching anything inside, photograph the wall below and around the affected window or door, showing the full extent of the visible water path.
- Hardware and operation state. If a window is stuck, a door won’t latch, or a lock is jammed, photograph it in the stuck position before attempting to operate it.
- Water line marker. If standing water was present, place a coin or ruler in the frame to show the depth before extracting any water.
- Panorama of the room. One wide shot that shows the affected window or door in relation to the rest of the room, establishing that this was not pre-existing water damage.
Do all of this within 48 hours. After that, drying, mold, and your own cleanup efforts will compromise the evidence. Then, and only then, begin drying and remediation. If the damage is beyond surface drying, that’s when you document the handoff to a professional, which we address shortly.
How to Test Door Multi-Point Lock Alignment Annually
Multi-point locking systems are magnificent when they’re aligned and expensive when they’re not. A door with three or five locking points spread along its edge creates a mechanical seal against wind pressure and forced entry. But if the frame has shifted even slightly, through thermal expansion or foundation settlement common in Little Gables soil, those points begin to strike against the keep plates instead of seating cleanly. Here is the annual test.
Step 1: The Visual Check
With the door open, look at the edge of the slab where the locking points protrude. They should be evenly spaced and appear to extend the same distance. Then look at the frame side, at the keep plates where the points seat. Any scrape marks, wear, or metal deformation on either side is the first signal of misalignment.
Step 2: The Engagement Test
With the door slightly open, lift the handle to throw the locks, then close the door. The points should seat into the keep plates without significant resistance. If you have to lift, push, pull, or body-check the door to get the handle to fully engage, the alignment is off.
Step 3: The Drag Test
Close the door without engaging the handle. The door slab should rest evenly against the weatherstripping on all three sides. Run a dollar bill along the gap between the closed door and the frame. You should feel consistent resistance. If the bill slides freely in one section and hangs up in another, the frame is warped or the door slab has racked.
Step 4: The Hinge Check
While the door is open, lift up on the handle side. Any vertical movement, any rocking, indicates worn hinges or loose screws. Tighten the screws. If they spin without catching, the screw holes are stripped, and you’re looking at a more involved repair.
A misaligned multi-point lock doesn’t get better. It wears the gearbox until the mechanism fails completely, usually in the middle of a rain event when you need the door secured. One annual check, ten minutes, catches the issue while it’s still an adjustment.
Salt, Coating, and the Frames You Can’t See
Hurricane season in Little Gables isn’t just wind. The rain that accompanies a storm carries a surprising amount of salt from airborne spray, even for homes a mile or more inland. That saltwater is corrosive to bare aluminum, eats powder coating from the inside, and accelerates wood rot anywhere it becomes trapped. The catch is that much of this damage happens where you can’t see it: inside the hollow channels of an aluminum frame, under a door threshold, behind the weatherstripping.
The pattern we see repeatedly in Little Gables homes: a storm passes, the visible damage is minor, the homeowner wipes down the obvious puddles and moves on. Six months later, a door threshold feels spongy underfoot or a window frame shows white powdery bloom at the seams. The water got in through a small gap, sat in an unventilated channel, and worked the entire time.
That’s why the dry-season tasks above are not optional. Resealing in January closes the entry points. Weep-hole clearing in March gives water a way out. Lubrication and coating maintenance in the dry season build a moisture barrier into the hardware itself. If you skip the dry season work, the post-storm 48-hour documentation simply records the beginning of a slow failure you could have prevented.
For coastal properties where salt exposure is particularly aggressive, upgraded frame materials and impact-rated glass from manufacturers like PGT, CGI, and CWS offer meaningfully better corrosion resistance than older builder-grade aluminum. But even the best product degrades faster in this climate without annual attention. The window installation approach in Little Gables matters here: improper flashing or sealing during installation shortens the lifespan of even premium products.
When Maintenance Crosses into Warranty-Triggering Repair Territory
One of the most consequential decisions a homeowner makes is knowing when to stop maintaining and start documenting a repair. That boundary line is where warranty claims are won or lost. Here is how to think about it.
Maintenance is work you do to prevent normal wear from becoming failure. Resealing a joint is maintenance. Replacing cracked weatherstripping is maintenance. Lubricating a roller is maintenance. Once a condition exists that you cannot reverse with routine care, you’ve crossed into repair territory. And once you’re in repair territory, documentation matters as much as the repair itself.
What to document for any repair:
- Date-stamped photographs of the condition before any work begins.
- A written description of what you observed, when you first noticed it, and any prior maintenance you performed.
- The invoice or work order from whoever performs the repair, specifying the failing component, the suspected cause, and the corrective action.
- Any correspondence with the manufacturer or installer, including dates and names.
For warranty-triggering repairs specifically, the handoff to a professional is often the difference between a covered claim and a denied one. Manufacturer warranties for window and door products, particularly brands like ES Windows and ECO Window Systems, contain language about proper installation and documented maintenance. Our Windows & Doors Permits, Codes & Inspections in FL: What You Need to Know explains how local requirements factor into warranty compliance. A repair performed by an unauthorized or unqualified party can void coverage. We recommend homeowners contact us when they see: glass seal failure (fog between panes), frame corrosion that has advanced beyond surface oxidation, multi-point lock gearbox stiffness or failure, or any structural issue affecting frame integrity. These are not DIY repairs, and attempting them often makes the warranty situation worse.
The parent service page for Winslow Windows & Doors home spells out our standing policies on estimates and documentation, including the free second opinion on any written estimate, which is useful when you’re deciding whether a condition is maintenance or a warrantied repair.
Common Mistakes to Avoid
- Skipping post-storm inspection entirely. The single most expensive mistake we see in Little Gables. The 48-hour documentation window exists because after that, evidence degrades and claims weaken. Walk the house even if the storm felt minor.
- Using interior caulk on exterior surfaces. Interior caulk never develops the UV and moisture resistance required in coastal Florida. Within one season, it cracks, yellows, and fails. The products are not interchangeable.
- Painting over weep holes. Those small openings at the bottom of window and door frames are drainage channels. Paint over them during a touch-up job and you’ve created a sealed reservoir. Every major window manufacturer explicitly warns against this.
- Lubricating with WD-40 and calling it done. WD-40 is a water displacer, not a lubricant. It temporarily loosens hardware by stripping the existing lubricant. A month later, the track is drier and grittier than before.
- Waiting for visible damage before investigating a draft. A draft through a closed window or door means the air seal has failed and moisture is following the same path. The visible staining or rot arrives later. Investigate on day one, not day ninety.
- Ignoring sticky operation in sliding doors. A sliding door that’s harder to open this month than it was last month is telling you something: roller wear, track buildup, frame shift, or all three. Each month of grinding wears the rollers further. The repair does not get cheaper with time.
- Treating annual maintenance as optional. The houses in Little Gables that require the most expensive repairs are rarely the ones that get hit by the biggest storms. They’re the ones that went years without a walkaround, so a minor entry point became a structural failure.
When to Call a Professional
Some conditions are beyond routine care. Glass seal failure requires reglazing or replacement of the insulated unit. Frame corrosion past surface oxidation means the frame’s structural integrity is compromised. A multi-point lock gearbox that grinds or sticks even after alignment attempts needs new hardware. Warped or racked frames from foundation settlement require realignment or replacement, not shims and hope. When you hit any of these, you’re in repair territory, and the best move is a professional assessment. Winslow Windows & Doors offers free estimates in Little Gables. Call (727) 291-4678 and Ed Winslow or one of our background-checked technicians will walk the house with you, identify what needs attention, and give you a straight answer on what’s urgent and what can wait.
Frequently Asked Questions
Most homeowners in Little Gables spend $75 to $150 per year on DIY maintenance supplies (sealant, weatherstripping, lubricant), while professional inspections and adjustments typically run $150 to $350 depending on the number of openings. For a detailed breakdown of what drives these numbers, see our Windows & Doors Cost Breakdown: The Little Gables Homeowner’s Reference for 2026. The avoided cost of a single failed multi-point lock gearbox or a rotted threshold more than justifies the annual expense. Call (727) 291-4678 for an exact quote on a full-home inspection.
Walk the exterior of your home twice a year at minimum: once in December during the dry season and once within 48 hours after any significant storm during hurricane season. Homes within a mile of the coast should add a third inspection in late August, when summer heat and rain have done their annual work.
Yes. The ultraviolet exposure and salt air in Little Gables break down exterior sealant faster than in any other climate zone in the country. Caulk and sealant that lasts five to seven years in northern climates commonly fails in eighteen to thirty-six months here. Annual inspection catches the gaps before they become water intrusion points.
The Done Right Promise is Ed Winslow’s personal guarantee that if our work isn’t done right, we make it right. No fine print on labor, no expiration date on accountability. It’s a hundred-year standard attached to every window and door installation and repair we perform in Little Gables and the surrounding area.
You can, and many homeowners do, but you’re giving up the dry curing window. Sealant applied during the humid months doesn’t bond as well, and waiting until June means any structural issue you discover has only days or weeks to be corrected before the storms begin. The dry season is when preparation actually sticks.
No. Winslow Windows & Doors provides upfront pricing with no change orders and no surprise invoice line items. You’ll know the full cost before any work begins, and that cost is the cost. We also honor a free second opinion on any written estimate you’ve received from another contractor, so you can compare numbers with a straight face.
The Bottom Line
Little Gables homeowners who treat their windows and doors as an annual system, with a dry-season hardening calendar and a post-storm documentation protocol, spend less over time and file stronger insurance claims when damage does occur. The two biggest levers are the January resealing pass and the February multi-point lock check; together they prevent the majority of water intrusion and hardware failures we see. Skip the work in March and you’ll meet the consequence in September. Ed Winslow has been serving Little Gables since 2011, and the same standard that built this business applies to every job: if it’s not done right, we make it right. For more guides & resources, visit our blog, or call (727) 291-4678 to schedule your free estimate.
Written by Ed Winslow, Owner at Winslow Windows & Doors, serving Little Gables since 2011.
Six Reasons Homeowners Choose Winslow Windows & Doors
Impact systems engineered to design pressures up to +/-100, matched to your wind zone - your openings hold when the storm arrives.
Low-E insulated impact glass from our manufacturer lines commonly cuts monthly cooling bills 20-30%.
Laminated impact glass shuts out up to 40% of outside noise - traffic, neighbors, weather.
Monitoring services run $30-90 a month. Laminated impact glass resists forced entry around the clock, with no subscription.
Florida homeowners average around 25% savings on the windstorm portion of their policy after protecting every opening - some homes qualify for more.
A full impact package upgrades curb appeal, buyer confidence and appraised value in one project.